- Add: No.100 Sizha Road, Zhangjiagang City, Suzhou City, Jiangsu Province
-
Tel: 0512-56766658 0512-567766656
Fax: 0512-58588359
Applying silicone sealant around a bathtub is a relatively straightforward DIY task, but it requires some care and attention to detail to ensure a watertight and aesthetically pleasing seal. Here's a step-by-step guide on how to apply silicone sealant around a bathtub:
Materials and Tools You'll Need:
Silicone sealant
Caulking gun
Utility knife or caulk removal tool
Masking tape
Denatured alcohol or rubbing alcohol
Clean, lint-free rags
A damp sponge or cloth
Step 1: Preparation
Before you begin, make sure the area is clean and dry. Remove any old caulk or sealant using a utility knife or caulk removal tool. Clean the surface thoroughly with denatured alcohol or rubbing alcohol to remove any residue, grease, or soap scum.
Step 2: Masking
To ensure a neat and straight caulk line, apply masking tape to the edges of where you want to apply the silicone sealant. Leave a small gap between the tape and the bathtub and wall tiles.
Step 3: Cut the Caulk Tube
Using a utility knife, cut the tip of the caulk tube at a 45-degree angle. The size of the opening will determine the thickness of the caulk bead. For most bathtub applications, a 1/4-inch to 3/8-inch opening is suitable.
Step 4: Apply the Silicone Sealant
Load the caulk tube into a caulking gun and apply gentle pressure to the trigger. Start at one corner and work your way along the seam between the bathtub and the wall, moving the caulking gun smoothly and evenly. Try to maintain a consistent bead of caulk. Don't rush; it's better to go slowly to ensure a neat finish.
Step 5: Smooth the Sealant
Once you've applied the caulk, use your finger or a caulk smoothing tool to smooth the bead. Wet your finger or the tool with a mixture of water and a few drops of dish soap to prevent the caulk from sticking to your finger or the tool. Run your finger or the tool along the caulk bead to create a smooth, concave surface. This not only improves the appearance but also helps the caulk adhere better.
Step 6: Remove the Masking Tape
Before the silicone sealant dries completely, carefully remove the masking tape. This will leave you with clean, straight edges.
Step 7: Cleanup
Use a damp sponge or cloth to wipe away any excess silicone sealant or smudges. Clean your hands and tools with soap and water or a silicone sealant remover.
Step 8: Allow the Sealant to Dry
Let the silicone sealant dry and cure according to the manufacturer's instructions. This usually takes 24 to 48 hours, but it can vary depending on the product and environmental conditions.
After the sealant has dried, your bathtub should have a watertight and attractive seal. Regularly inspect the sealant for any signs of wear or deterioration, and reapply as needed to maintain a secure barrier against moisture.
Detailed description:
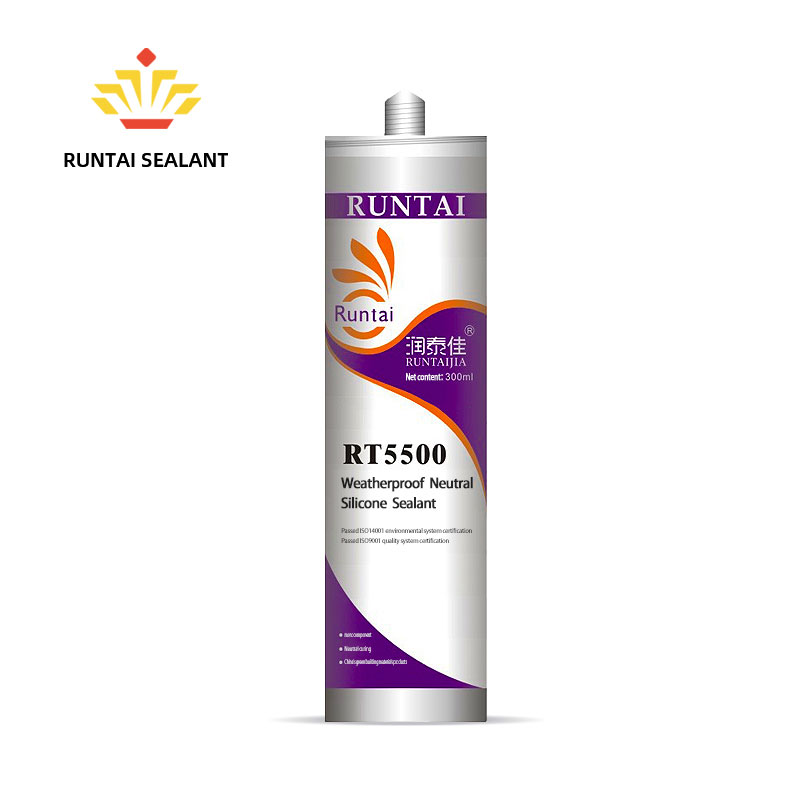
One component, neutral curing, easy to use, good extrudability and thixotropy in the temperature range of 4-40°C;
It has strong adhesion and no corrosion. lt can obtain great bonding and sealing performance without primer with the majority of building materials, and has good extensibility, water tightness and other functions;
After curing, the product forms a cold resistant, heat-resistant and corrosion-free elastomer, which has high weather resistance, aging resistance, ulraviolet resistance, ozone resistance and high and low temperature resistance, and has no pollution to the enironment;
It has good compatibility with other silicone adhesives of Runtai.


 English
 中文简体
中文简体 Português


